Are you tired of the limitations of your cherished vinyl collection? In this digital age, bringing your favorite tunes wherever you go has never been easier. Digitizing your vinyl records not only preserves the unique sound of vinyl but also allows you to enjoy your music on various devices, from smartphones to digital audio players. Plus, think about the convenience of creating playlists, sharing your music with friends, and having a backup of your irreplaceable collection. Intrigued? Join me as we explore the equipment and techniques you’ll need to convert vinyl to digital and get the most out of your music in the 21st century.
Necessary equipment and soft
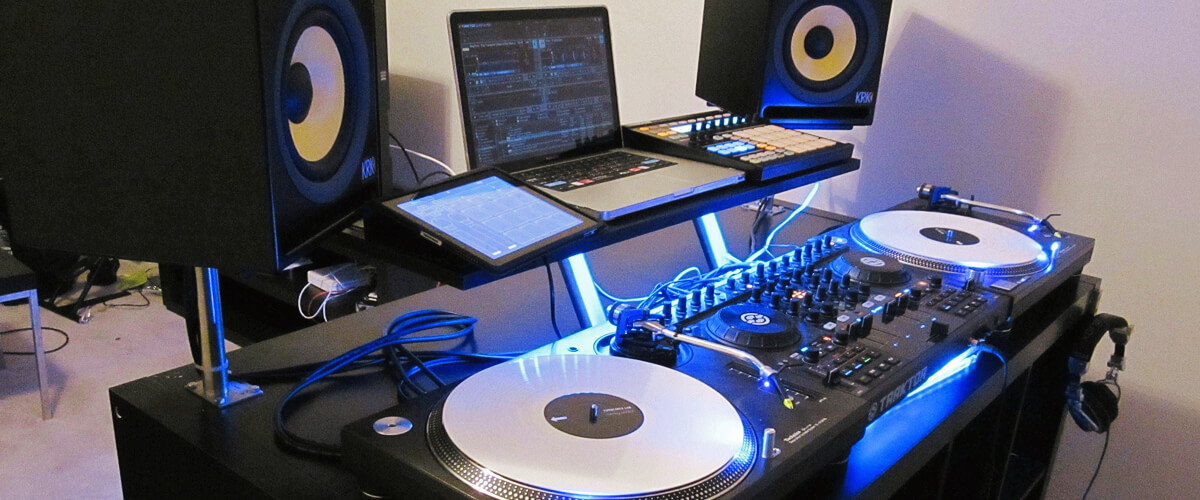
To successfully digitize your vinyl collection, you’ll need a few essential pieces of equipment and software. And here they are.
Phono stage
Also known as a phono preamp, the phono stage amplifies the turntable’s output signal. This way, allowing it to be processed by the analog-to-digital converter. Some turntables have built-in phono stages, while others require a separate external device. Make sure your turntable is compatible with your phono stage to ensure smooth signal conversion.
Analog-to-digital converter (ADC)
The ADC is the bridge between the analog world of vinyl and the digital domain. It converts the amplified analog signal from the phono stage into a digital format you can process and store on your computer. A high-quality ADC will ensure that the digital files accurately represent the nuances of your vinyl records, capturing the warmth and character that makes vinyl so beloved.
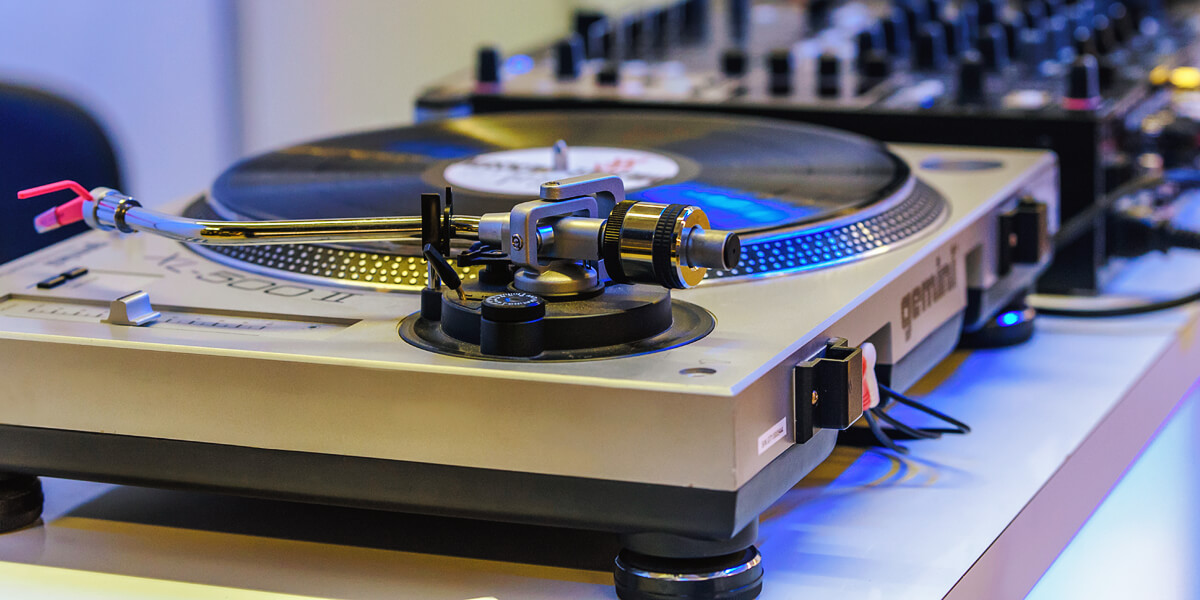
Turntable
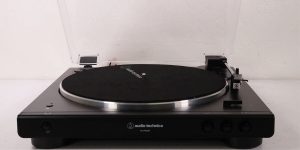
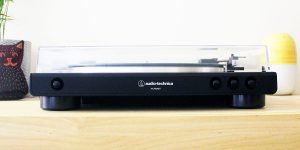
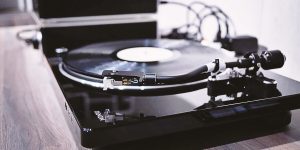
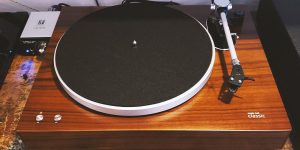
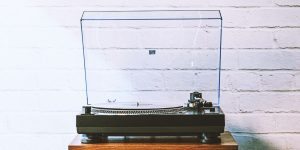
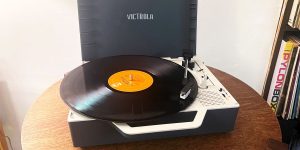
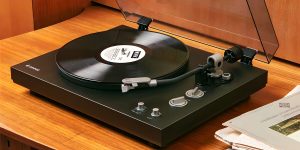
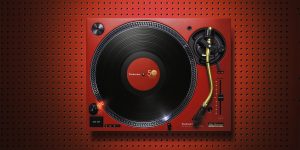
I will give more detail on the turntable because it is the heart of the process. This device is responsible for spinning your records and capturing the audio. A well-functioning, high-quality turntable will deliver an accurate representation of your vinyl’s sound. On the other hand, if you use a poor one, this may result in subpar sound quality in your digital files. So, investing in a reliable turntable is the first step in preserving the true essence of your vinyl collection.
Here are the things I recommend you consider as you pick a unit for turning vinyl records into digital:
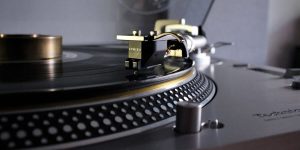
- Look for a turntable with an adjustable tracking force and anti-skate. Properly adjusted settings help maintain accurate playback and reduce wear on your records.
- Consider tonearm height customization. The tonearm’s height affects the stylus angle and sound quality.
- Mind pitch control flexibility. With adjustable pitch control, you will compensate for slight speed or pitch variations, ensuring accurate playback during the digitization process.
- To minimize record wear and achieve accurate playback, opt for a turntable with a sturdy tonearm (e.g., made from aluminum or carbon fiber) and a heavy platter (e.g., crafted from metal or acrylic).
- Seek out a turntable with a low-noise floor to reduce interference during the playback.
- As I stated earlier, your turntable must either have a built-in phono preamp or be compatible with an external one to record audio at the appropriate level.
Sure, you may not cover all the points I stated above. You still can go with an older and simpler turntable. Though, I suggest that you make sure that it operates smoothly and doesn’t have worn components. Check out if it’s free of excessive noise, vibration, or other performance problems.
PC with software
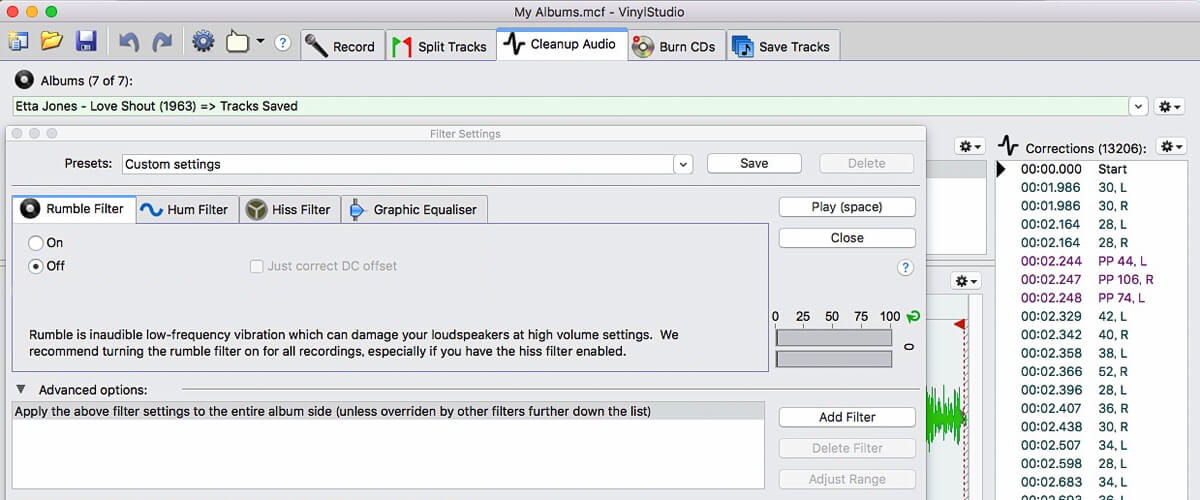
Lastly, you’ll need a computer equipped with software to record, edit, and store your digital music files. There are several programs available, both free and paid, that cater to various skill levels and preferences. Look for software that allows you to adjust recording settings, edit and clean up audio, and save files in a format compatible with your preferred devices. Here are some potential software options I find appealing.
Audacity
Audacity is a great choice for transferring a vinyl record to a computer due to its user-friendly interface and versatile editing tools. It’s free and open-source, making it accessible to everyone. With this software, you will easily record and edit audio while also removing unwanted noise. Additionally, it supports a variety of file formats, ensuring compatibility with your preferred devices.
Adobe Audition
Adobe Audition is a powerful tool with professional-level audio editing capabilities. Its noise reduction features help eliminate unwanted sounds, resulting in cleaner recordings. Adobe Audition also allows for the precise editing of individual audio tracks, enhancing the overall quality. Though more expensive than some alternatives, it’s an excellent option for advanced users seeking greater control over the digitization process.
VinylStudio
VinylStudio is specifically designed to digitize vinyl records. Its specialized tools help remove noise and scratches, ensuring a clean audio output. This app also automatically splits recordings into individual tracks. I find this feature amazing as it saves time and effort. It’s not free, but it’s a worthwhile investment if you are seeking a dedicated solution for vinyl digitization.
GarageBand
If you use a Mac, then I want to recommend GarageBand. Although not specifically designed for vinyl conversion, it offers a range of audio editing tools you can use for this purpose. GarageBand is a free solution, making it an attractive choice for those on a budget. Its user-friendly interface and extensive features make digitizing vinyl a smooth and enjoyable process.
Adobe Premiere Pro
You are probably familiar with Adobe Premiere Pro as a video editing software. And you may be surprised to reveal that it can be beneficial for digitizing vinyl records. Its audio editing tools offer flexibility and control, unlocking access to high-quality audio adjustments. If you require extensive editing options, then go with Premiere Pro’s advanced features. It’s more expensive than other alternatives on the market, but it’s worth every penny.
Setting up a turntable for digitization
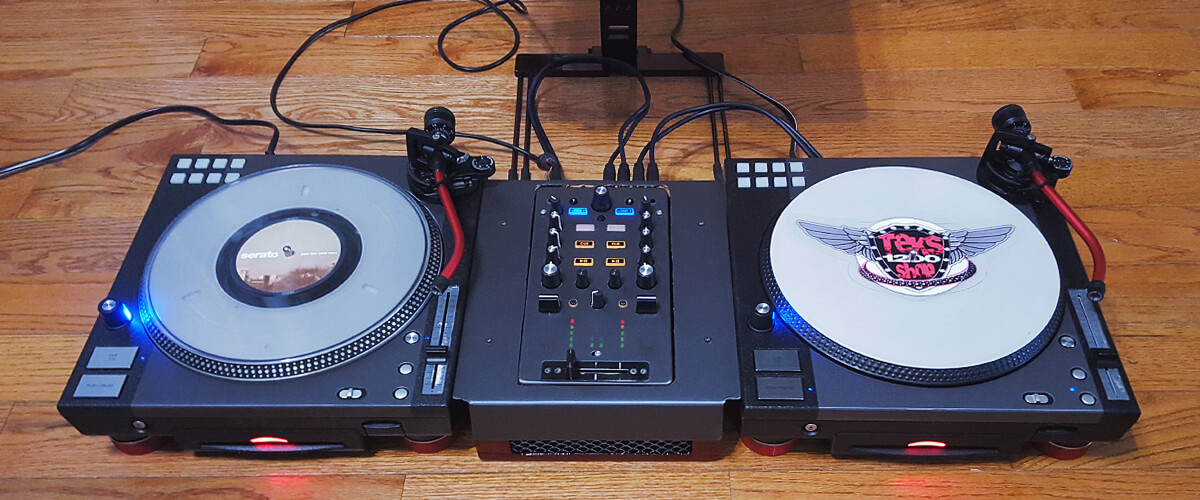
Transforming your precious vinyl collection into digital files requires more than just a turntable and software. It’s also about the setup. A well-optimized turntable ensures that you capture every nuance of your records while keeping noise and vibrations at bay. Follow my tips for setting up your turntable and creating digital files that truly reflect the rich sound of vinyl.
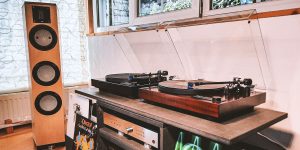
- Place your turntable on a stable surface. This will help you reduce vibrations. Consider investing in a dedicated turntable stand or isolation platform.
- Balance the tonearm. Follow your turntable’s instructions to set the appropriate tracking force and anti-skate settings.
- Adjust the tonearm height. If your turntable allows for tonearm height adjustments, make sure it’s set correctly to maintain the optimal stylus angle and achieve the best sound quality.
- Connect the phono stage. If your turntable has a built-in phono preamp, turn it on. If you’re using an external phono preamp, connect it according to the manufacturer’s instructions.
- Connect the analog-to-digital converter (ADC). Attach the ADC to the output of the phono stage, then connect it to your computer via USB or another appropriate connection. Ensure that your computer recognizes the ADC and that the recording software is set up to use it.
- Minimize external noise. Choose a quiet room for recording and avoid running appliances or devices that may produce noise during the digitization process. You can also use a dust cover or a record clamp to reduce surface noise and vibration.
- Depending on your specific turntable and setup, you may need extra equipment or accessories, such as a ground wire to eliminate hum, a record brush for cleaning, or a stylus pressure gauge to fine-tune the tracking force.
Best practices for vinyl digitization
I’ve learned the hard way. I’ve encountered various challenges and learned valuable lessons when it comes to converting vinyl records to MP3. But you won’t have to do that anymore. So, here are my tips that will help you achieve the highest quality digitized vinyl recordings.
First and foremost, ensure your records are clean and dust-free before starting the digitization process. Use a record brush, a microfiber cloth, or even a specialized record-cleaning solution to remove debris.
In my own digitization process, I pay close attention to recording levels to capture the full dynamic range of my vinyl records without distortion or clipping. I typically set my recording levels so that the loudest parts of the music peak around -3 to -6 dB on my recording software’s meter.
Equalization is another aspect I consider when working on my digitized files. Vinyl records have a distinct equalization curve known as the RIAA curve, which affects their sound. Even though most phono preamps automatically apply the RIAA curve, I sometimes manually adjust equalization settings in my recording software. By experimenting with different settings, you will find the one that replicates the natural sound of vinyl.
One of the reasons I love vinyl records is their naturally wide dynamic range. To preserve this characteristic, I avoid over-compressing or over-processing my digital files. Although some minor adjustments might be needed to polish the audio, I always strive to maintain the original dynamics and warmth of my cherished vinyl records.

